Building an HTML-to-Image Website Screenshot Tool

On This Page
Most website screenshot tools require backend infrastructure and setting up browser instances, but you can build one entirely in the frontend using modern JavaScript libraries and a CORS proxy.
In this article you will learn how to build a website screenshot tool from scratch directly in the frontend.
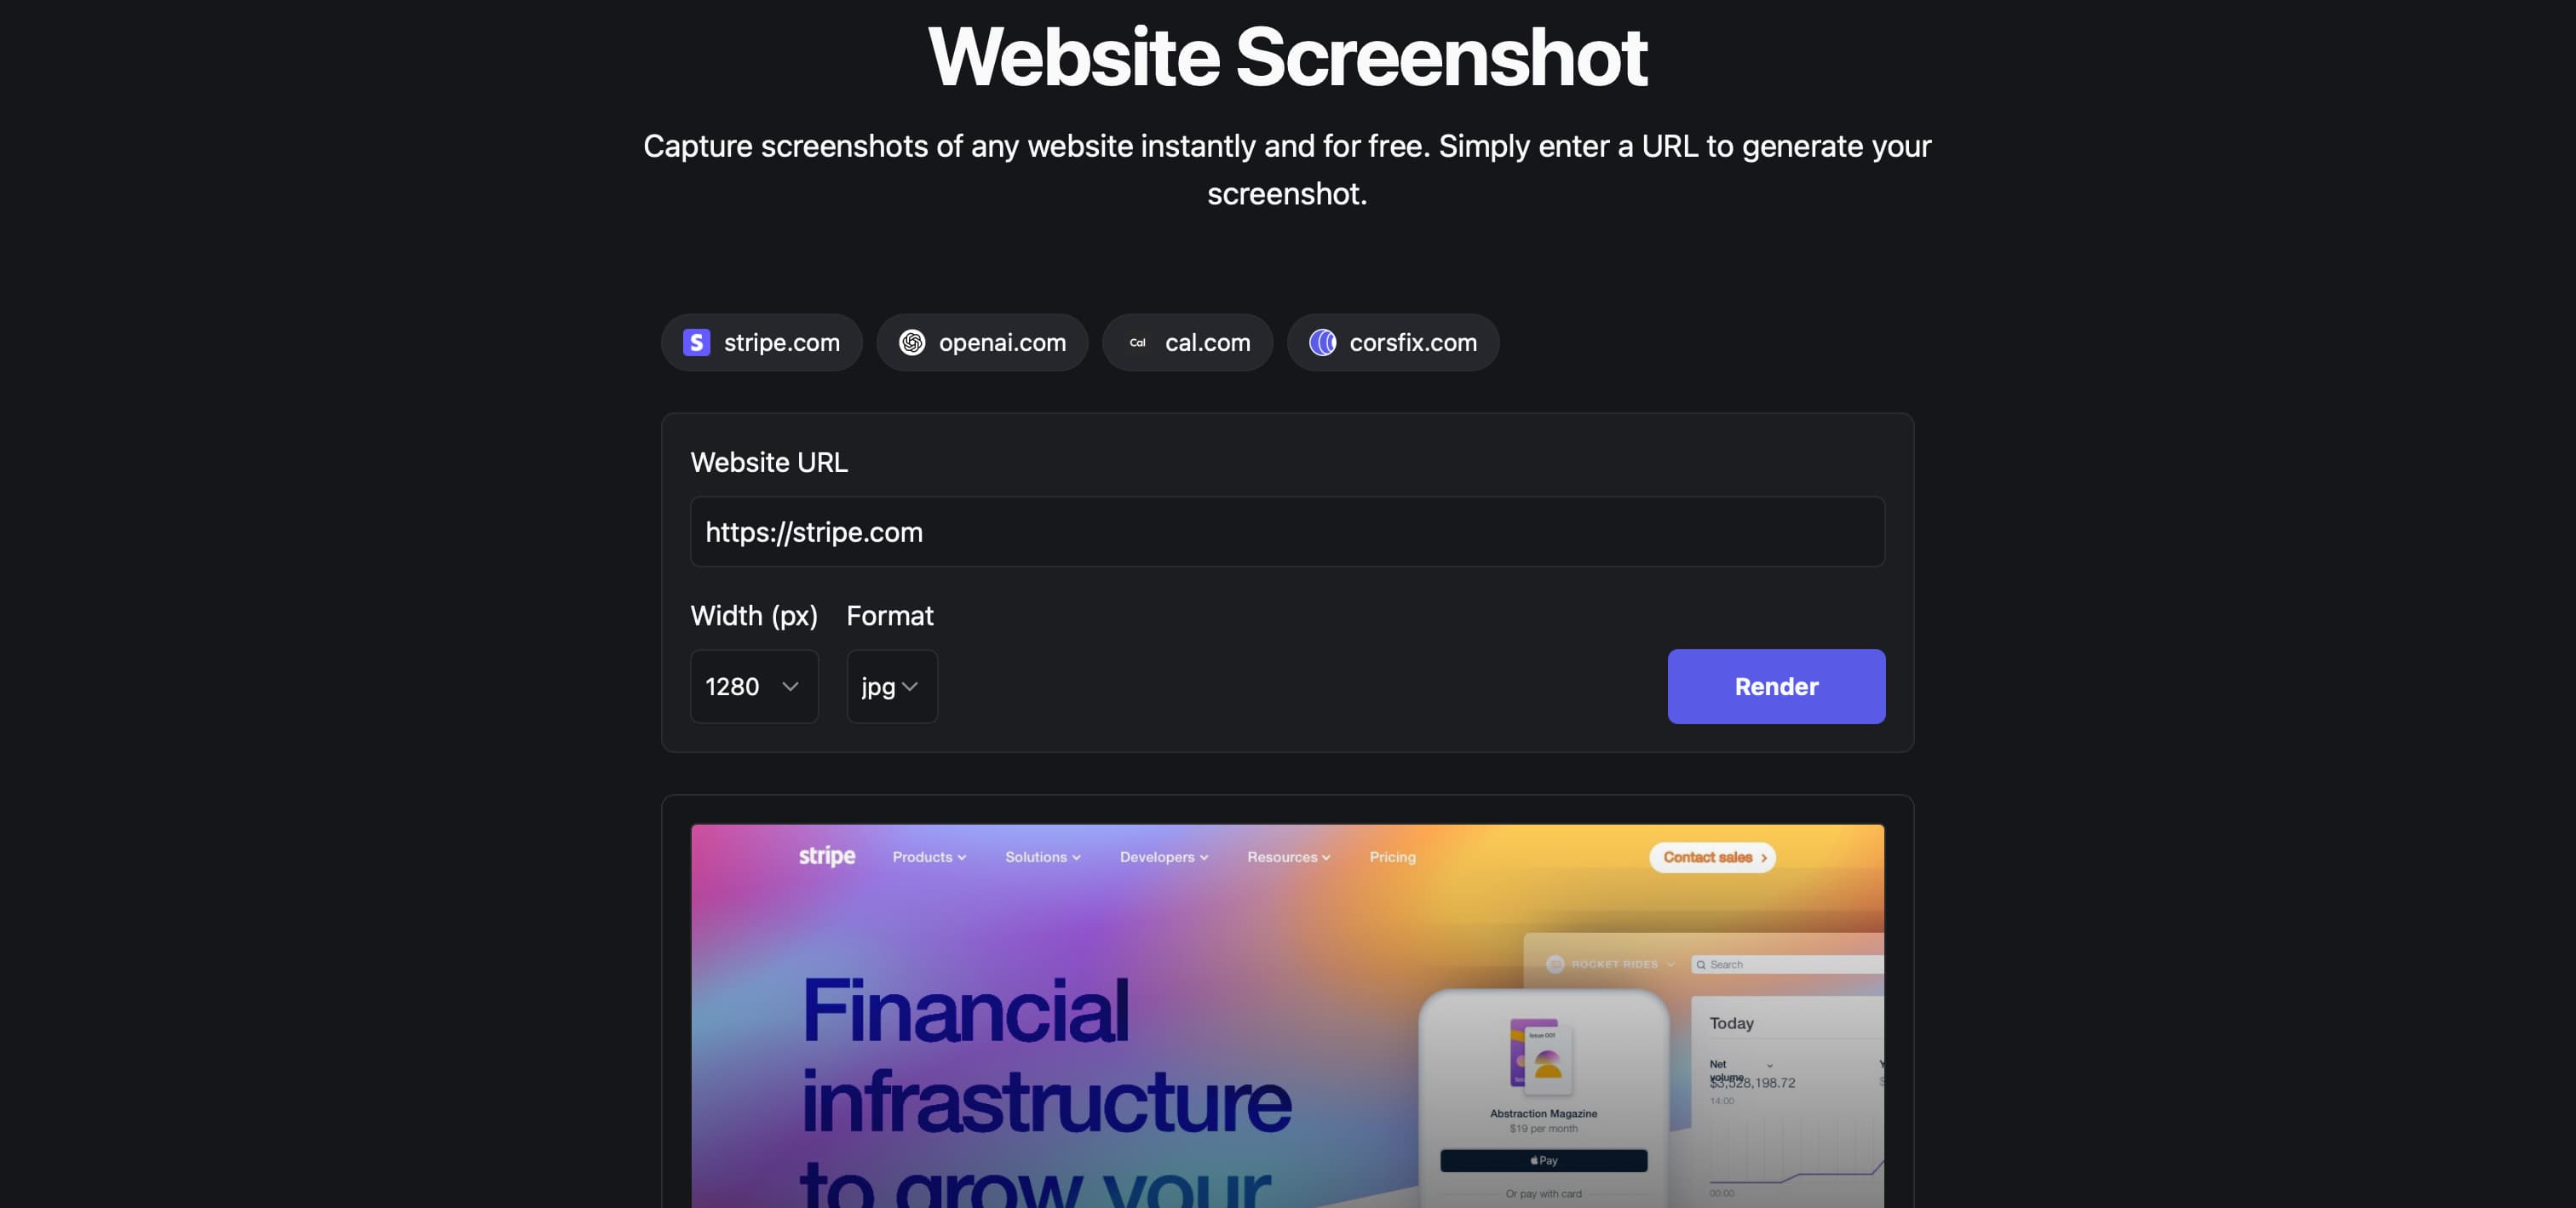 Website Screenshot Tool
Live demo: https://corsfix.com/tools/website-screenshot
How Screenshot Tools Typically Work
Most screenshot tools you see online use backend systems like Puppeteer, where there’s an actual server running a headless browser instance to capture screenshots.
This approach works well because it shows accurate screenshots as if someone opened the page in their browser. The rendering engine handles JavaScript, CSS, and fonts exactly as a real browser would.
But there’s an overhead, as you need server infrastructure, and you’re running entire browser instances just to take screenshots, as well as you have to manage scaling and resource allocation.
Alternative: In-Browser HTML to Image
Website screenshots are fundamentally about converting a page’s visual elements, which are its HTML structure and CSS styling, into an image.
You’d think there should be a way to render and convert HTML and CSS directly into an image without spinning up a browser instance, and you’d be right.
snapDOM is a JavaScript library that converts HTML to images directly in the browser. It’s more up-to-date and faster than its predecessors like html2canvas.
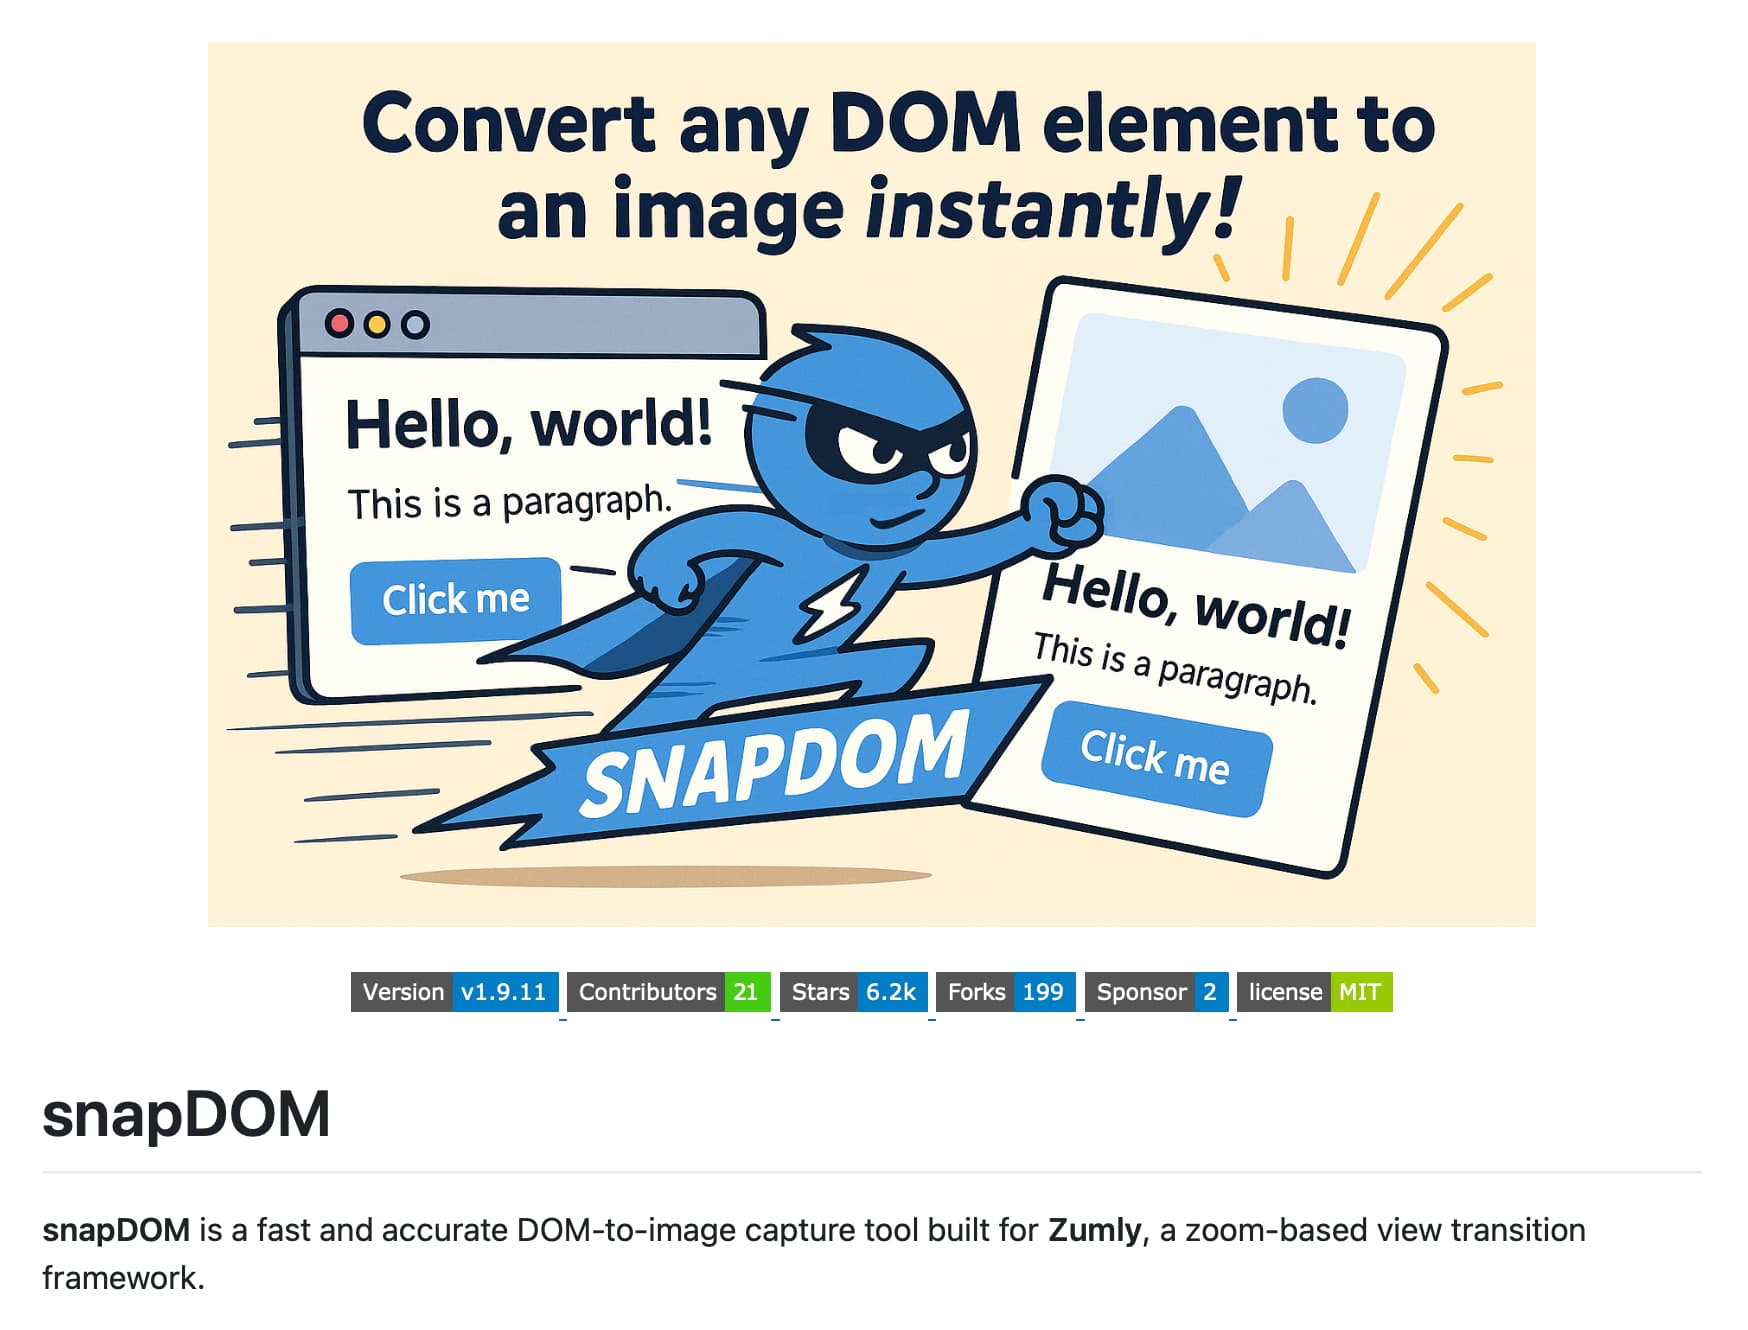 snapDOM
Getting the website HTML
We have the first part figured out, which is snapDOM for HTML-to-image conversion. Next, thing to figure out is how to get the actual HTML to input in our library.
We need the actual HTML content from the target website. But directly fetching HTML from another domain results in CORS errors, where browsers block cross-origin requests.
This is where Corsfix, a CORS proxy, comes in. It lets you fetch HTML from any domain without CORS errors, making it possible to get the content you need directly from the browser.
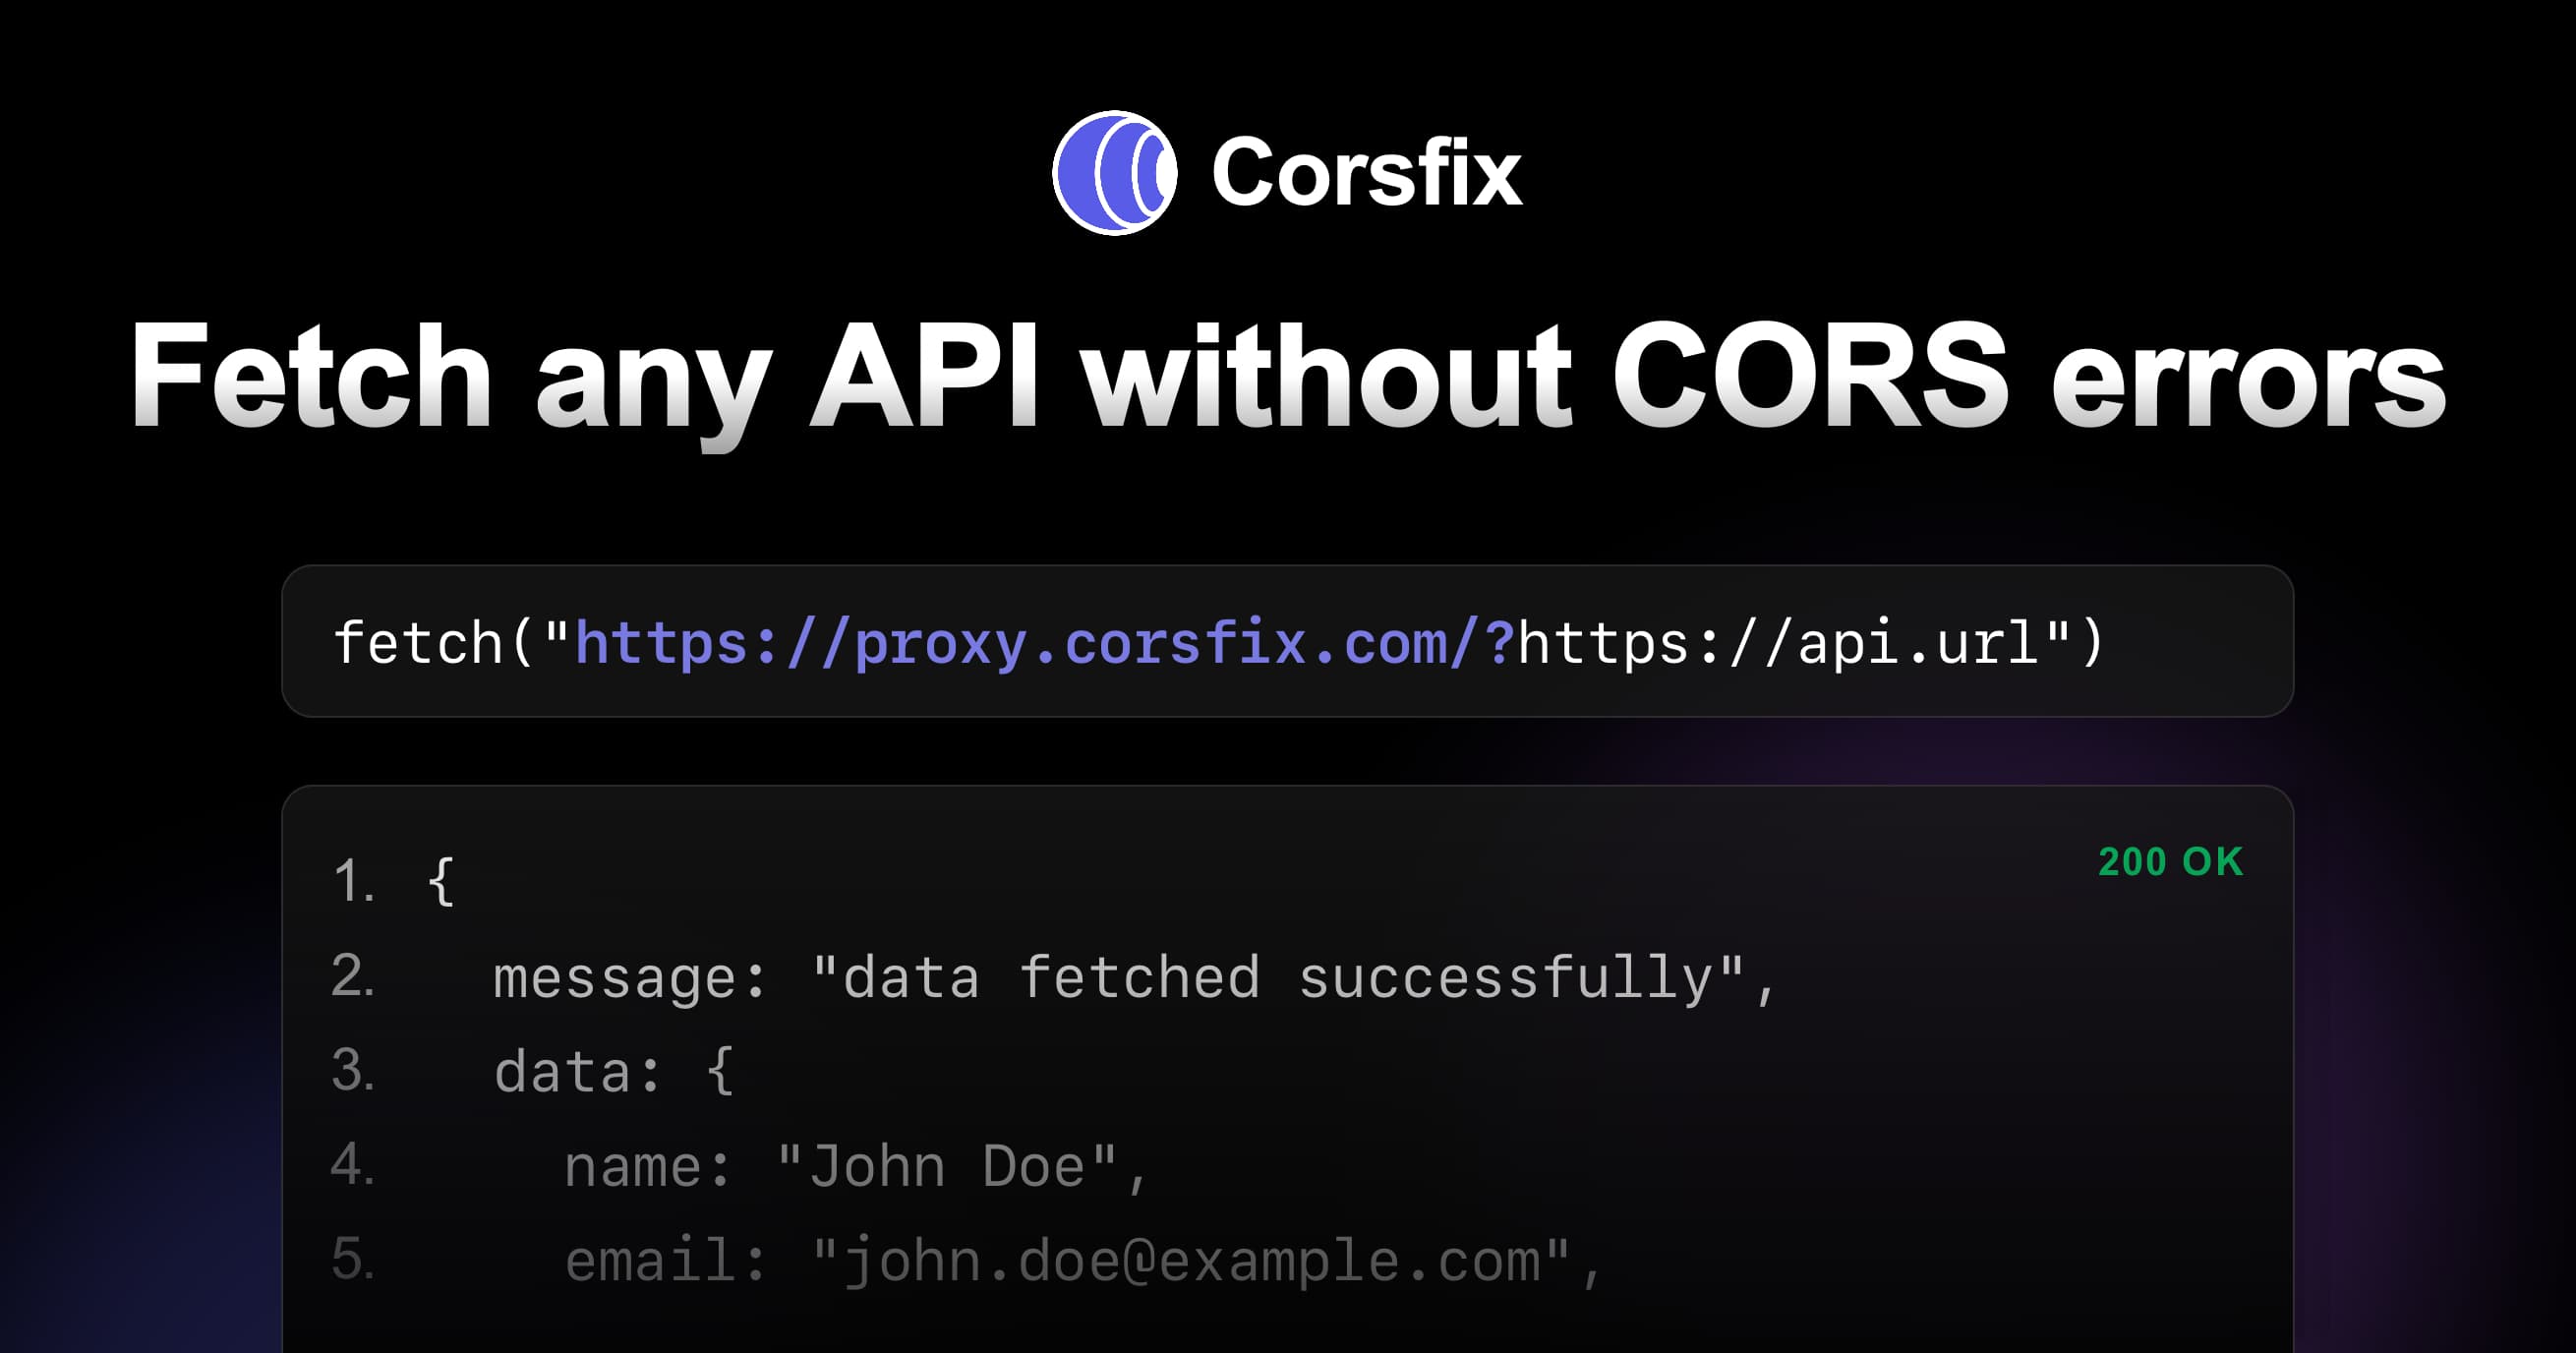 Corsfix CORS proxy
Putting It All Together
The implementation flow:
- Fetch the HTML using Corsfix to bypass CORS restrictions
- Render the HTML using iframe as container
- Let Snapdom process the HTML, render it with styles and fonts, and produce the image
// Simplified exampleconst url = "https://example.com";const proxyUrl = `https://proxy.corsfix.com/?url=${encodeURIComponent(url)}`;
// Fetch HTML through proxyconst response = await fetch(proxyUrl);const html = await response.text();
// Render in iframeconst iframe = document.createElement("iframe");iframe.srcdoc = html;document.body.appendChild(iframe);
// Convert to image with Snapdomconst screenshot = await snapdom.toImg(iframe.contentDocument.body);
Find the complete demo: https://corsfix.com/tools/website-screenshot
Conclusion
You can build a website screenshot tool using Corsfix for fetching HTML content and snapDOM for HTML-to-image conversion. This eliminates the need for backend servers and browser instances.
Solve CORS errors instantly with Corsfix, it’s free to start and you only upgrade when moving to production.