Application
Once you’re ready to use Corsfix in production, you’ll need to add it in the dashboard. This guide will help you understand how to set up and configure your application.
Adding a New Application
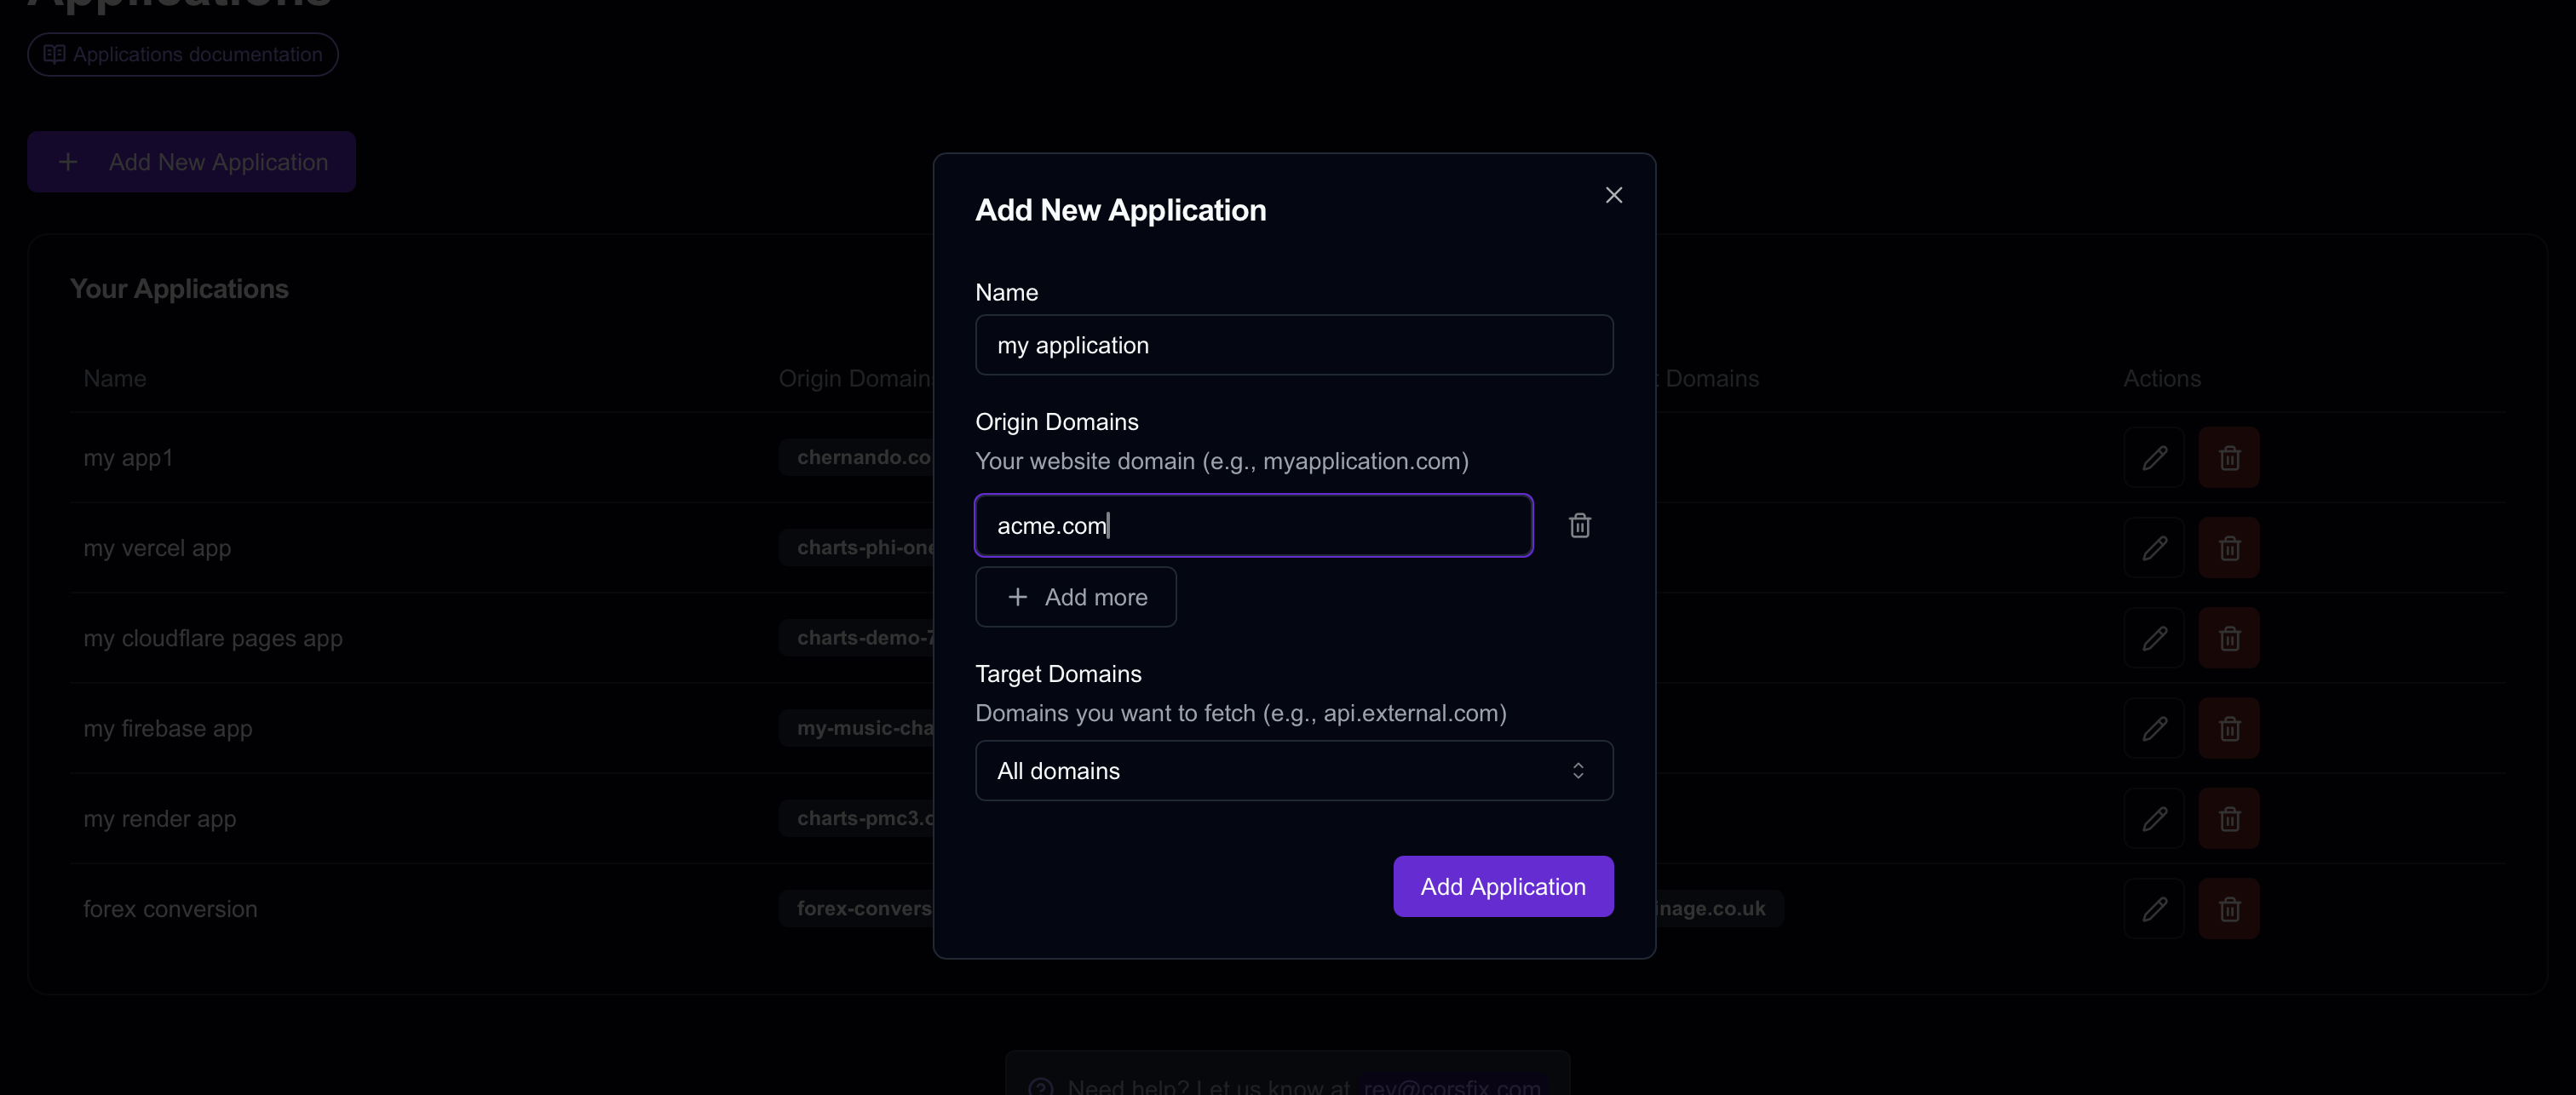
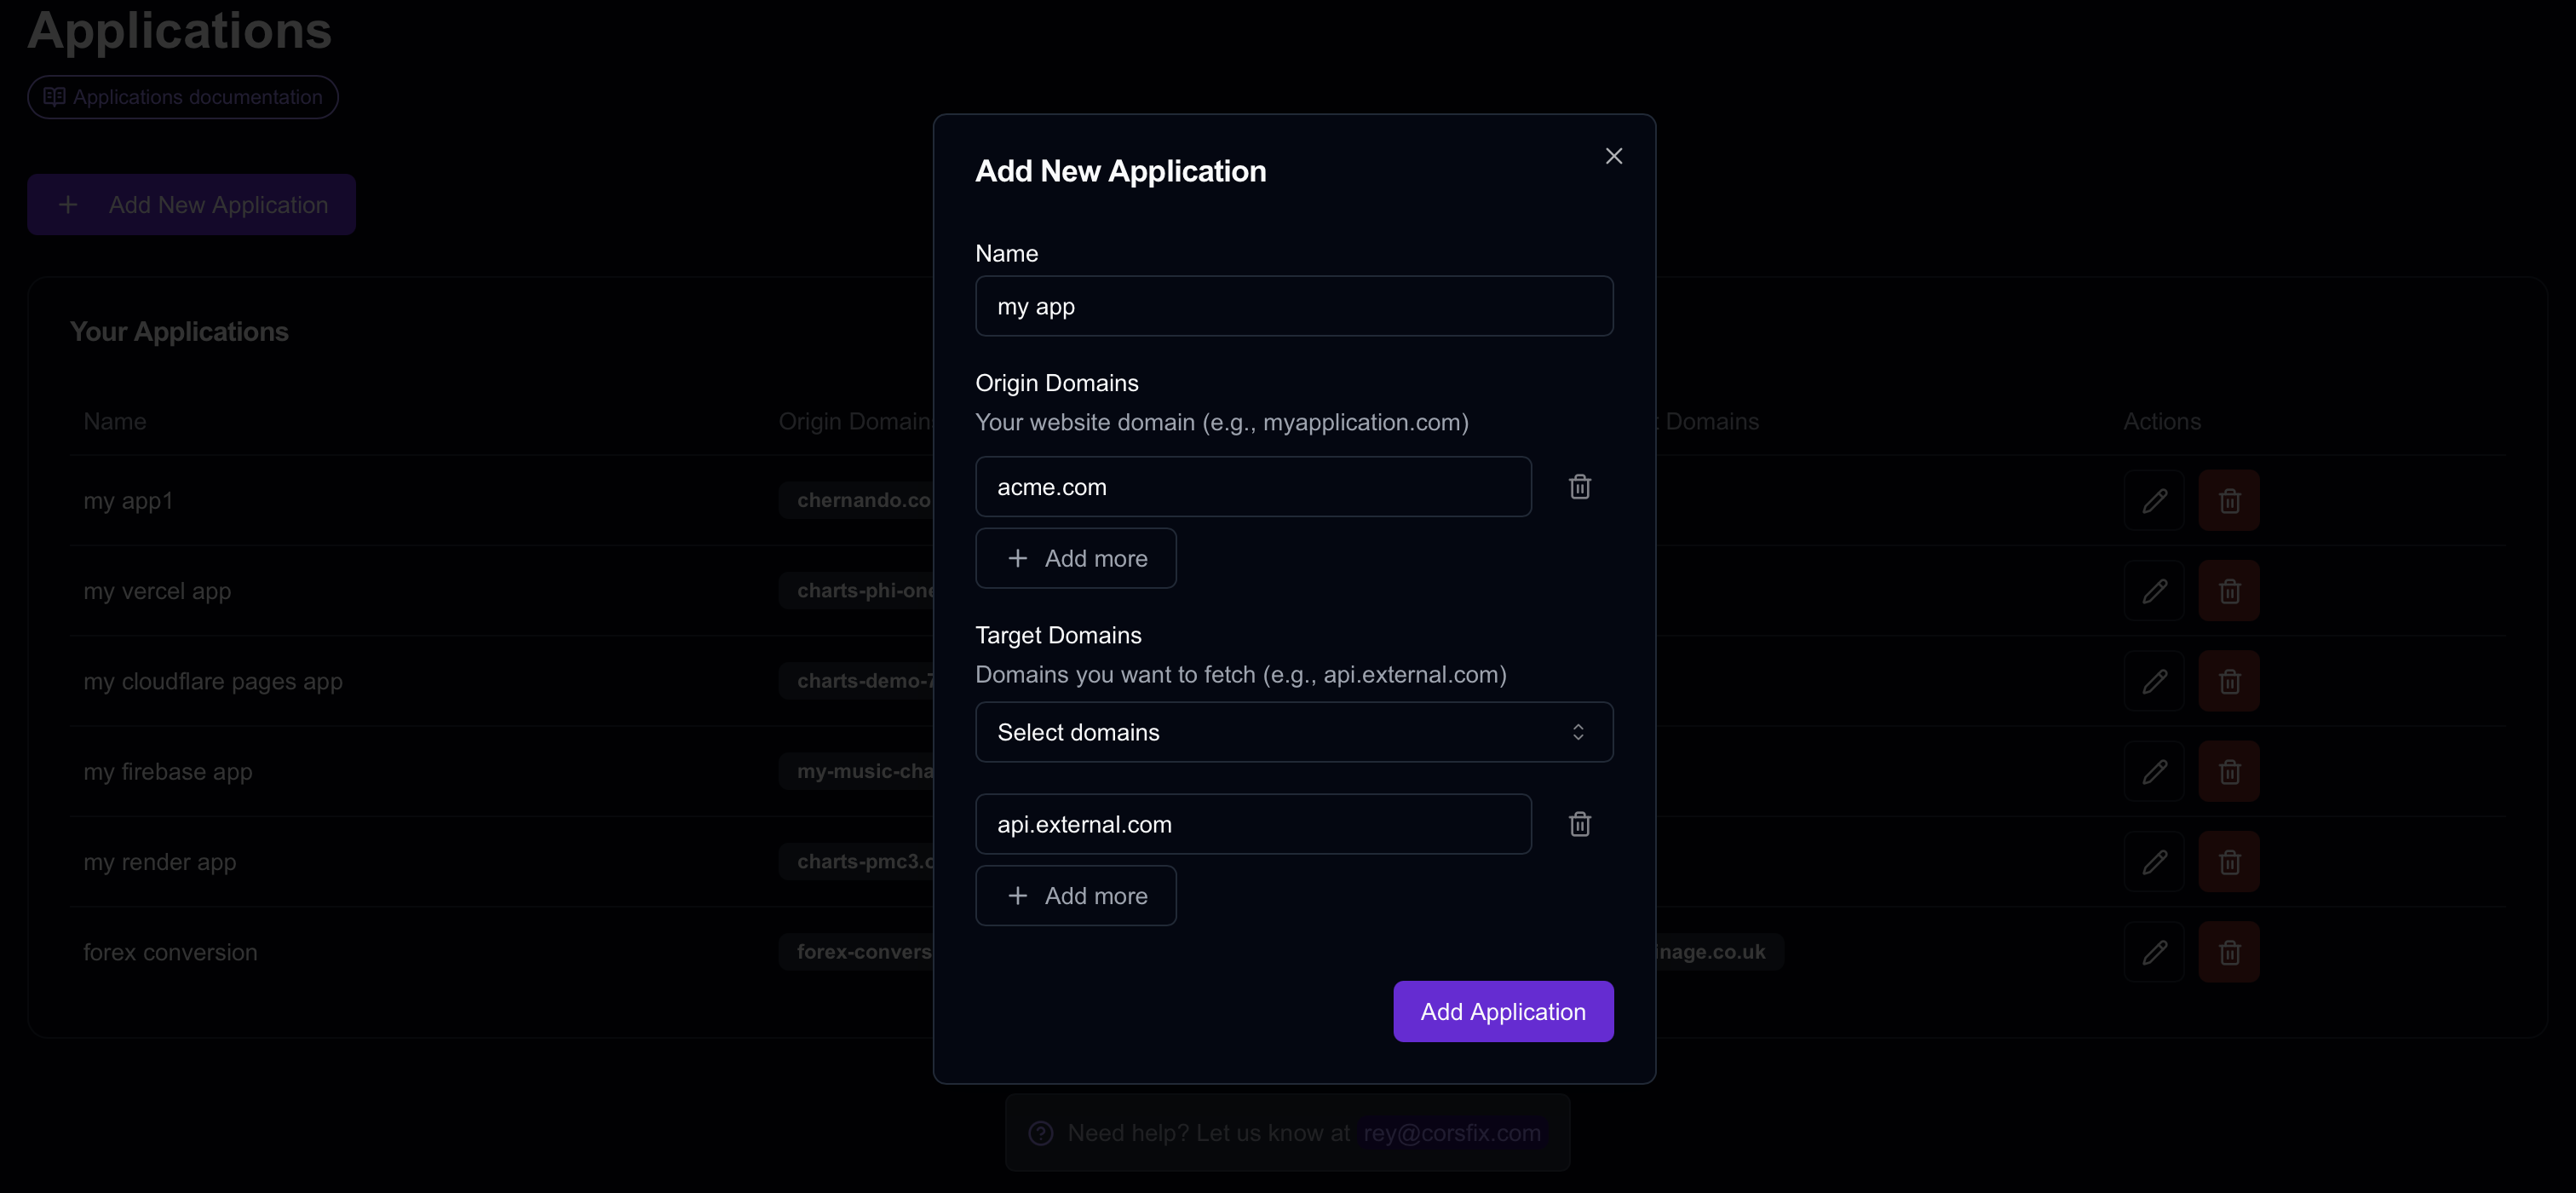
Section titled “Adding a New Application”To add a new application, you’ll need to configure two values:
Origin Domains
Section titled “Origin Domains”This setting controls which domains can use Corsfix proxy. This is where you put your website’s domain.
For example:
myapp.comwww.myapp.comweb.myapp.com

Target Domains
Section titled “Target Domains”This value consists of the domains you want to fetch to. By default it is set to All domains, however you can select specific domains for more control.
For example:
example.comapi.external.com

Security
Section titled “Security”Corsfix validates requests based on the Origin header and target domain, ensuring only legitimate requests are processed.
For enhanced security, both origin and target domains use exact matching. For example, these are considered distinct domains that must be added separately:
mywebsite.comwww.mywebsite.comapp.mywebsite.com
To accommodate this, we support adding multiple origin domains for each application.
We don’t use API keys since they would be exposed in client-side code, compromising security.
